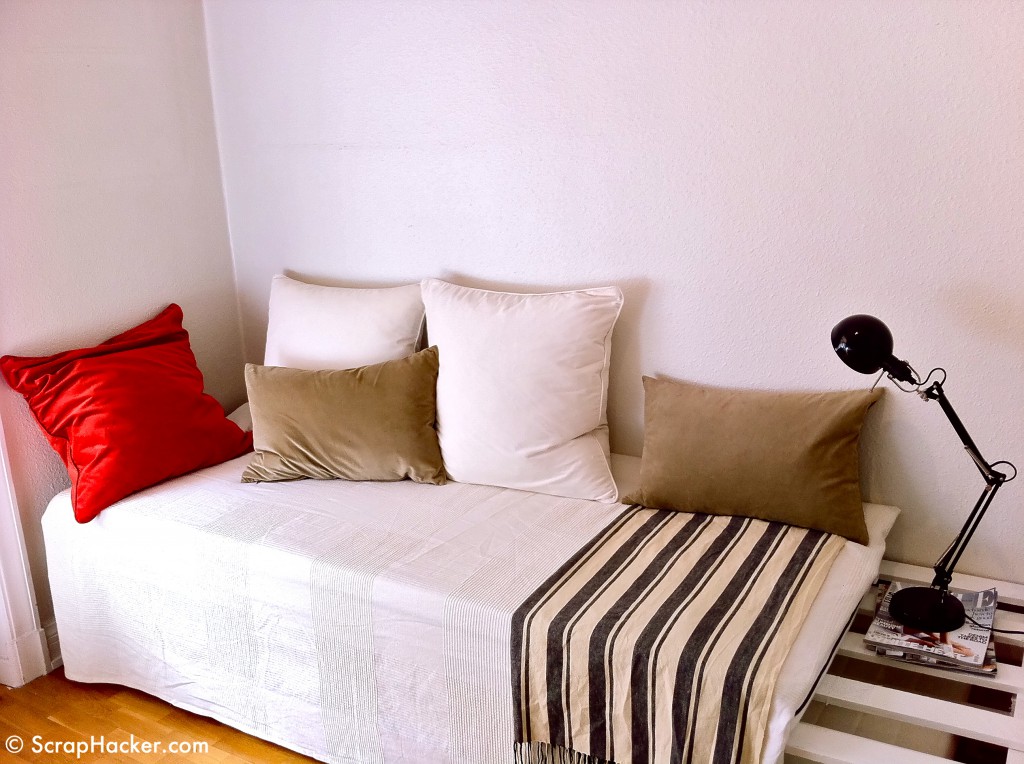
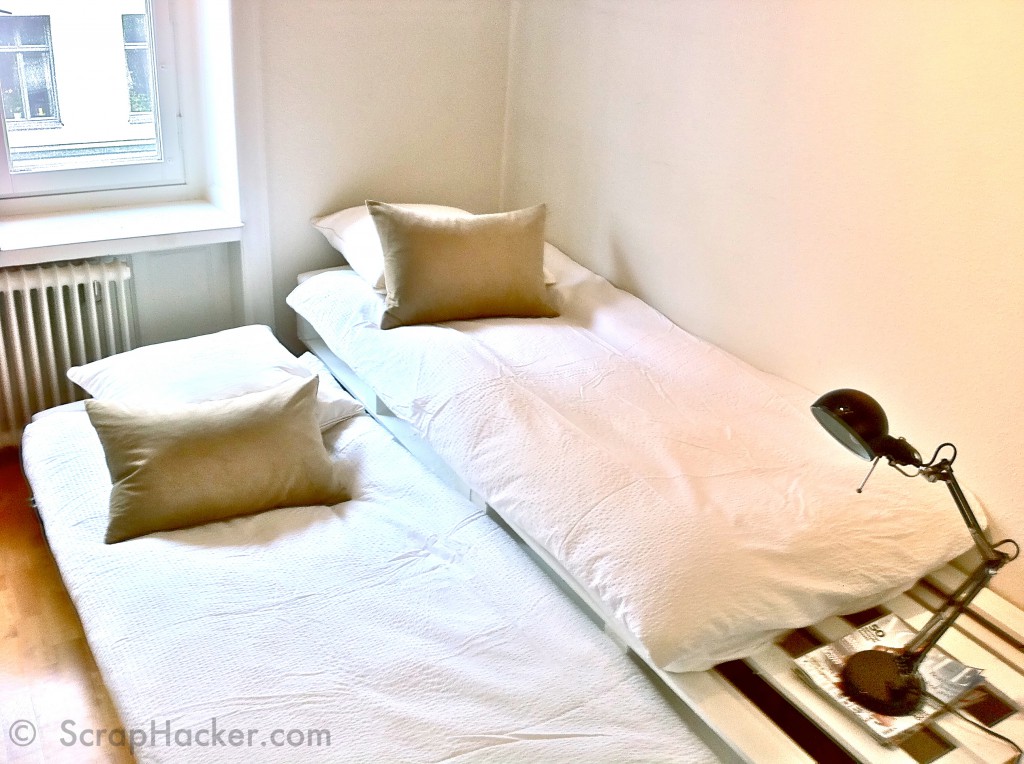
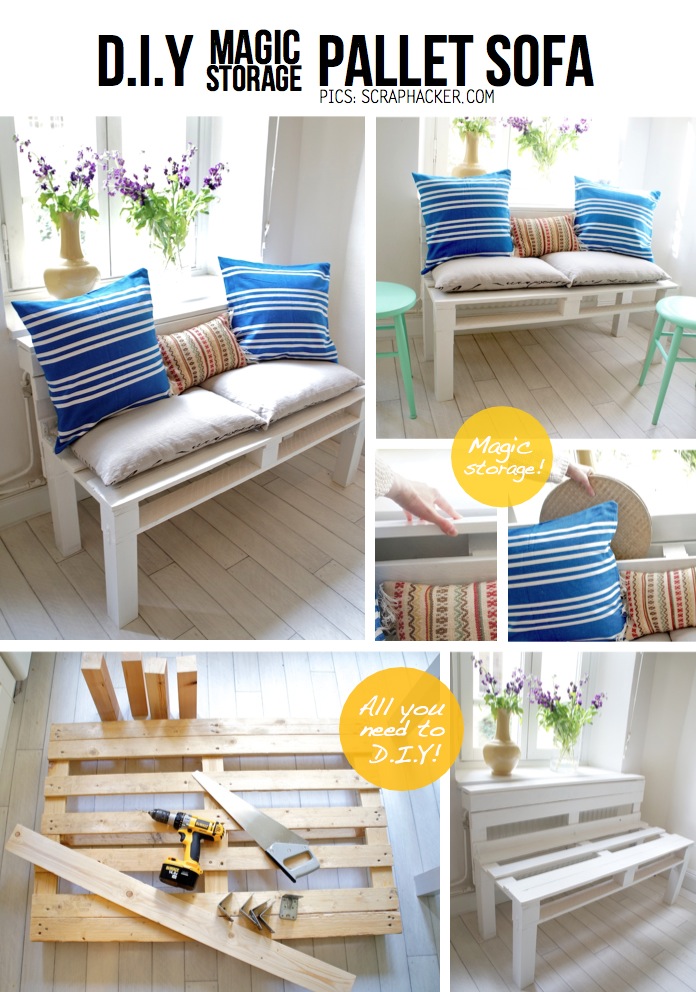
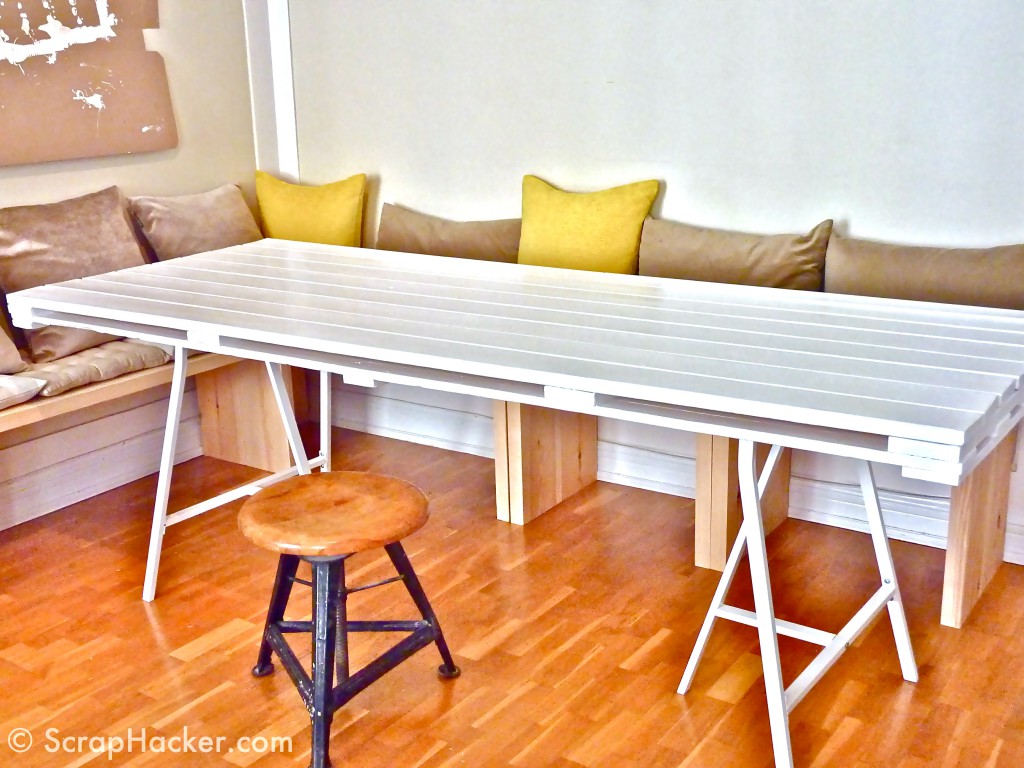
Necessity is the mother of invention! I had my cousin and 2 friends of his coming over from Paris to stay at my place over a weekend. Had an idea for a sofa bed, and the need for accommodating guests made me act on it! The result is a versatile scraphack which works perfectly for either daytime lounging….
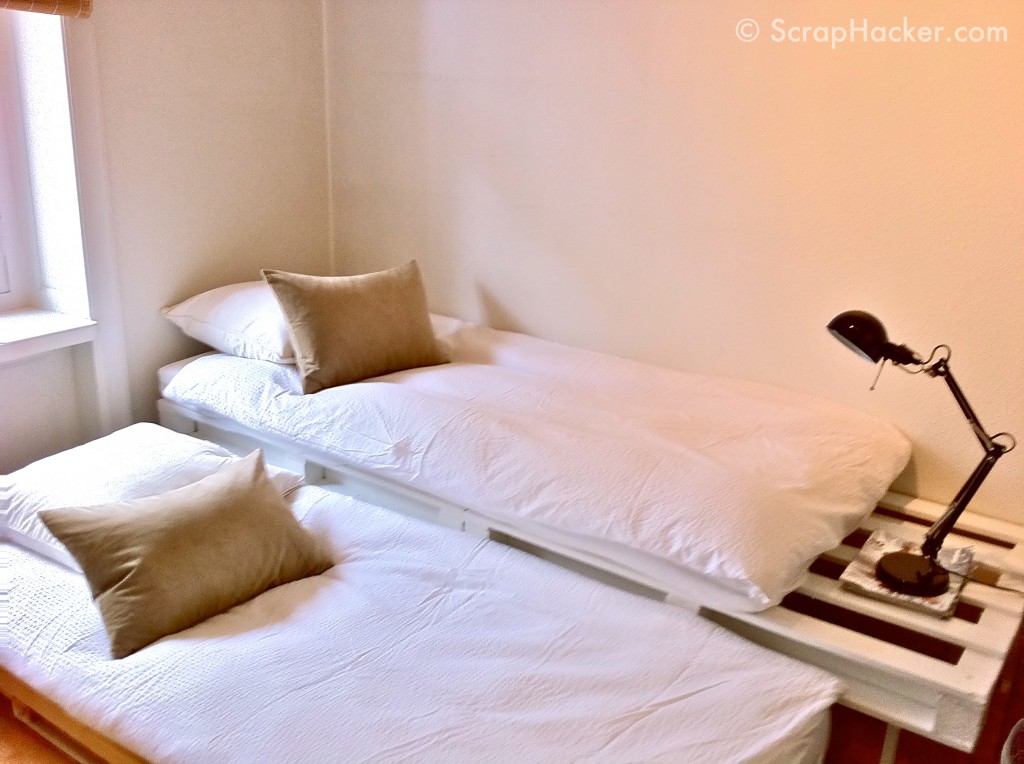
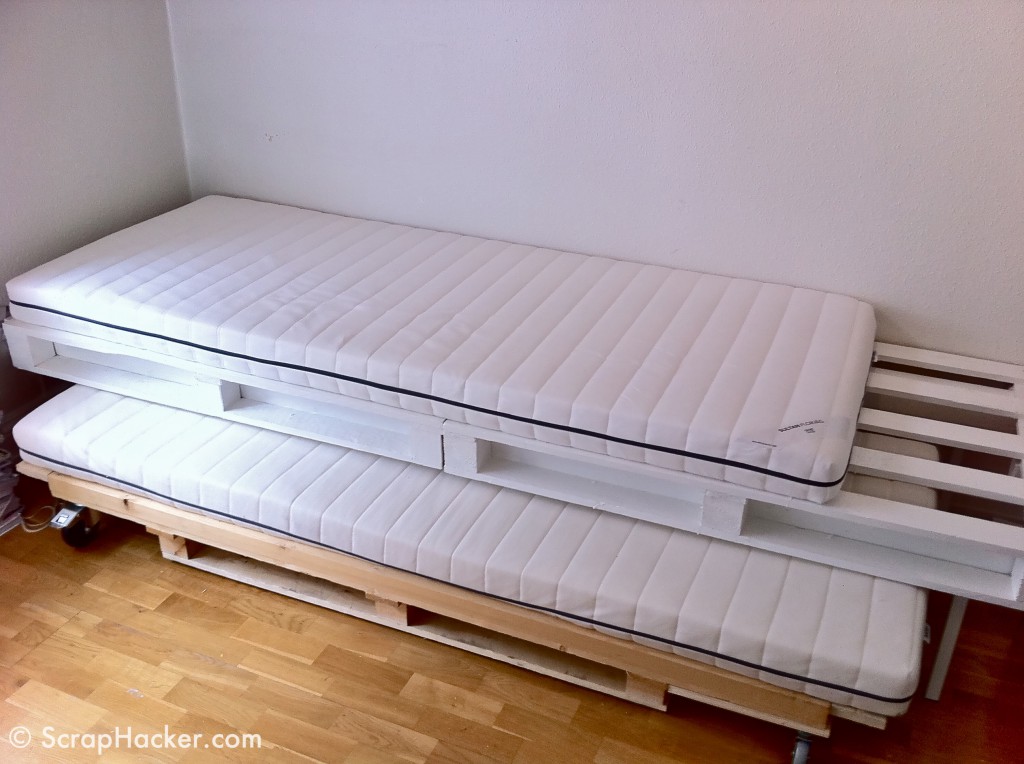
….or for accommodating guests!
WHAT YOU NEED FOR SCRAPHACKER SOFA BED:
TOOLS
- Screwdriver, Hand saw
SCRAP
- 1 double pallet 240cm´80cm or 2 joined pallets (120cm´80cm)
- 1 pallet 180cm´8ocm
HACK
- 2 beams (approx 240cm long, 5cm thick, 10cm wide)
- 4 furniture legs, c:a 30cm high
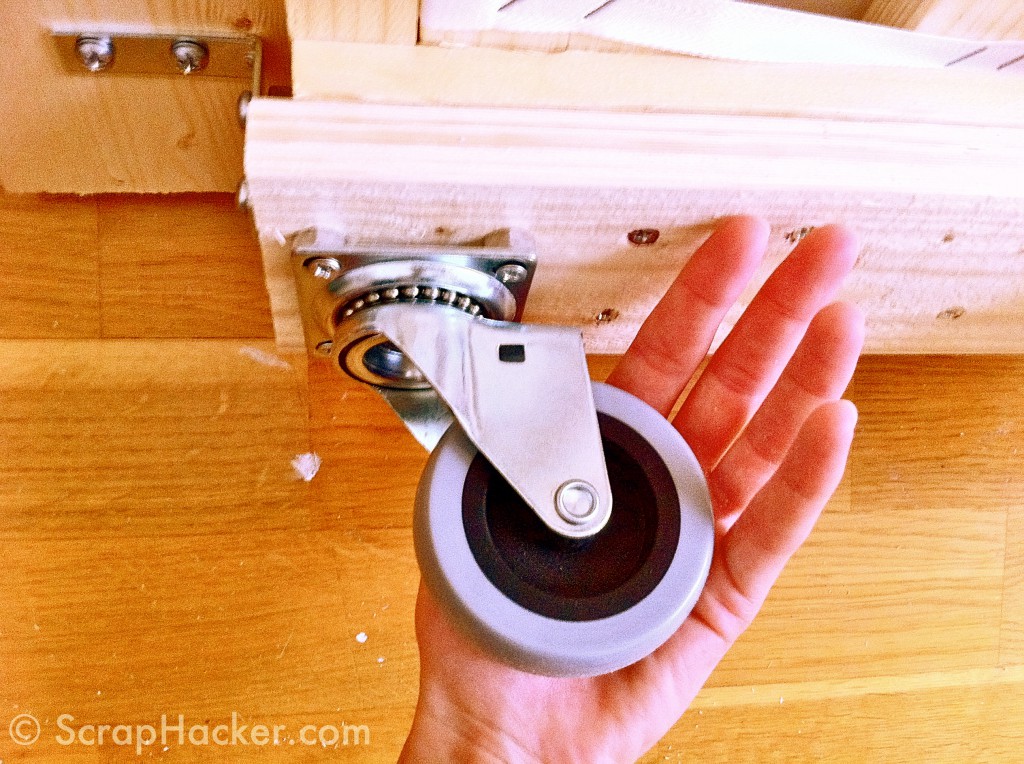
- 4 trolley wheels with brakes (I used these ones from ClasOhlson)
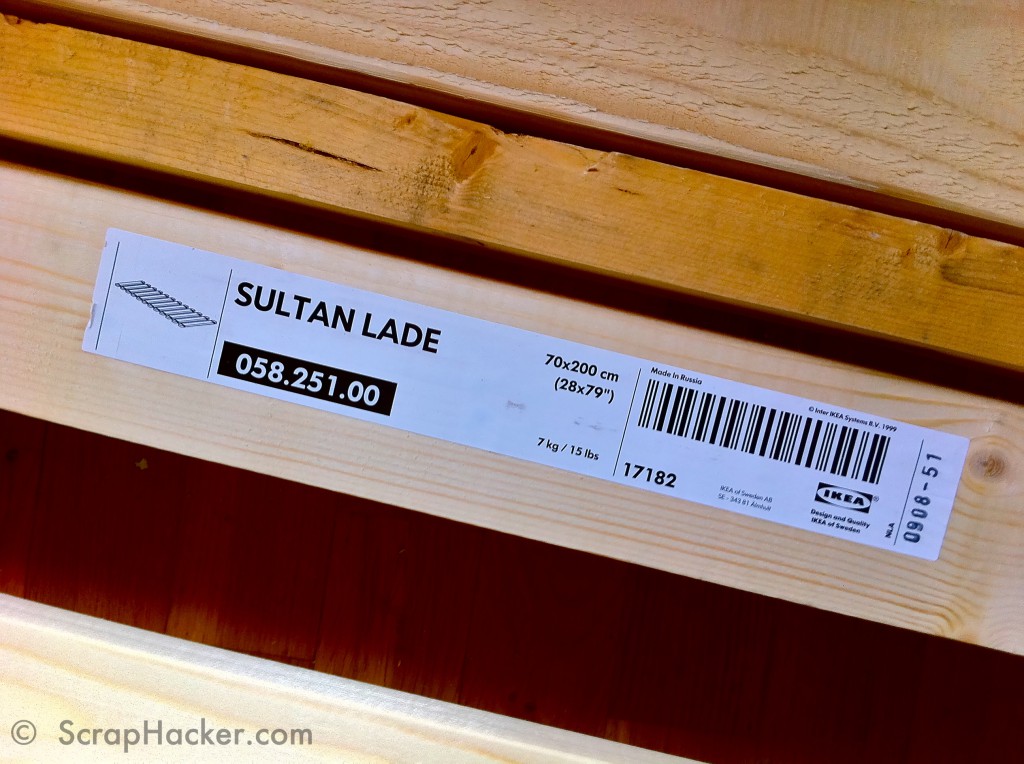
- A slatten bed base (approx 70cm´200cm), I used IKEA´s Sultan Lade
- Two pieces of wood (approx 2cm thick, 10cm wide, 80cm long)
- Paint (I chose high gloss white)
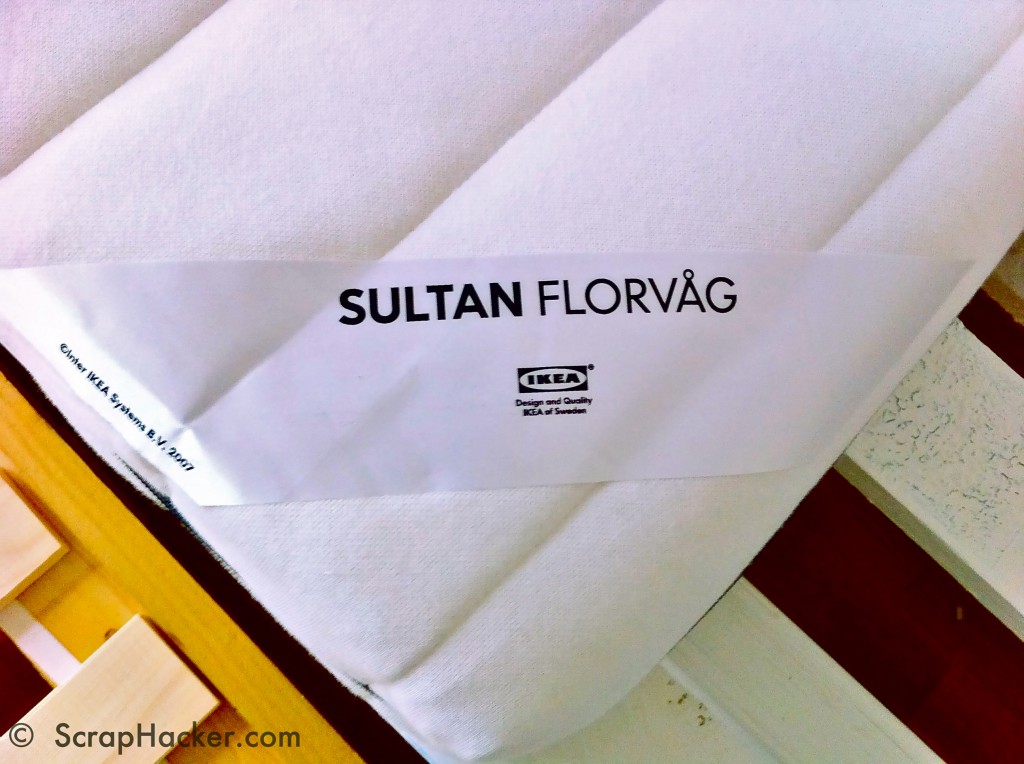
- 2 mattresses (I used IKEA´s Florvåg 80cm´200cm)
- Screws, angle irons.
(Total cost: Approx €120-140=)
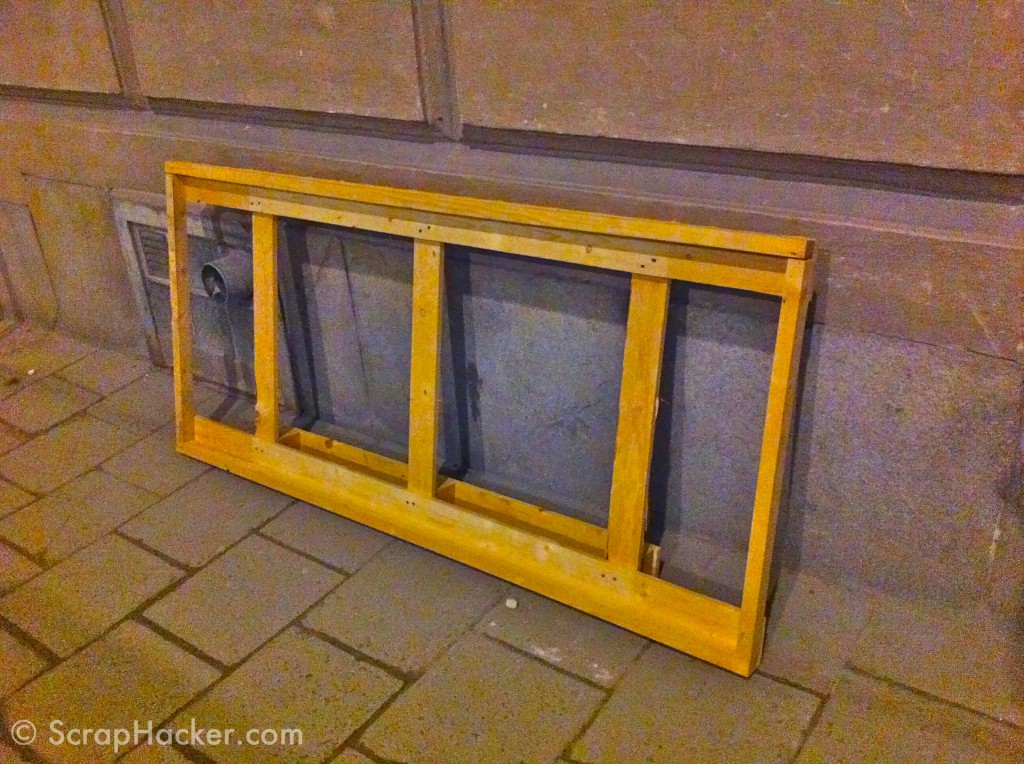
Step 1. The basic component is one double pallet (240´80cm) or to join two standard (120´80cm) pallets together. I did the latter, but I saw a ”double pallet” on the street which would have worked! This part of the design will be the ”top” bed.
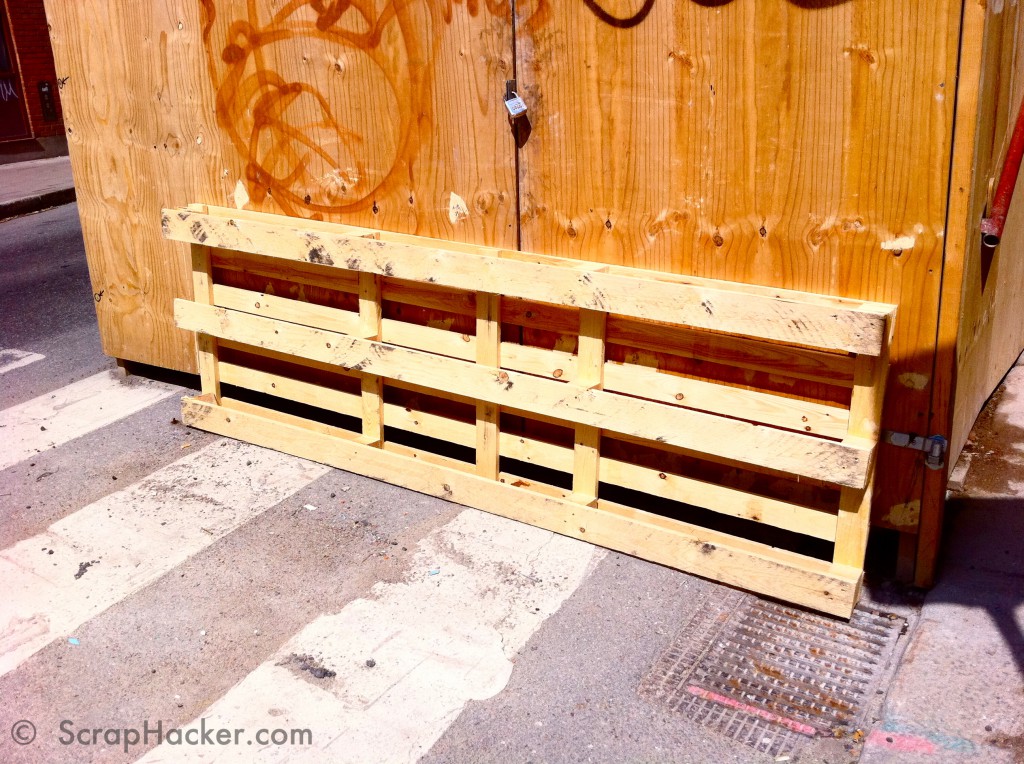
Step 2.Secondly, you need a smaller sized pallet. I came across this one, which measured 180cm´80cm.
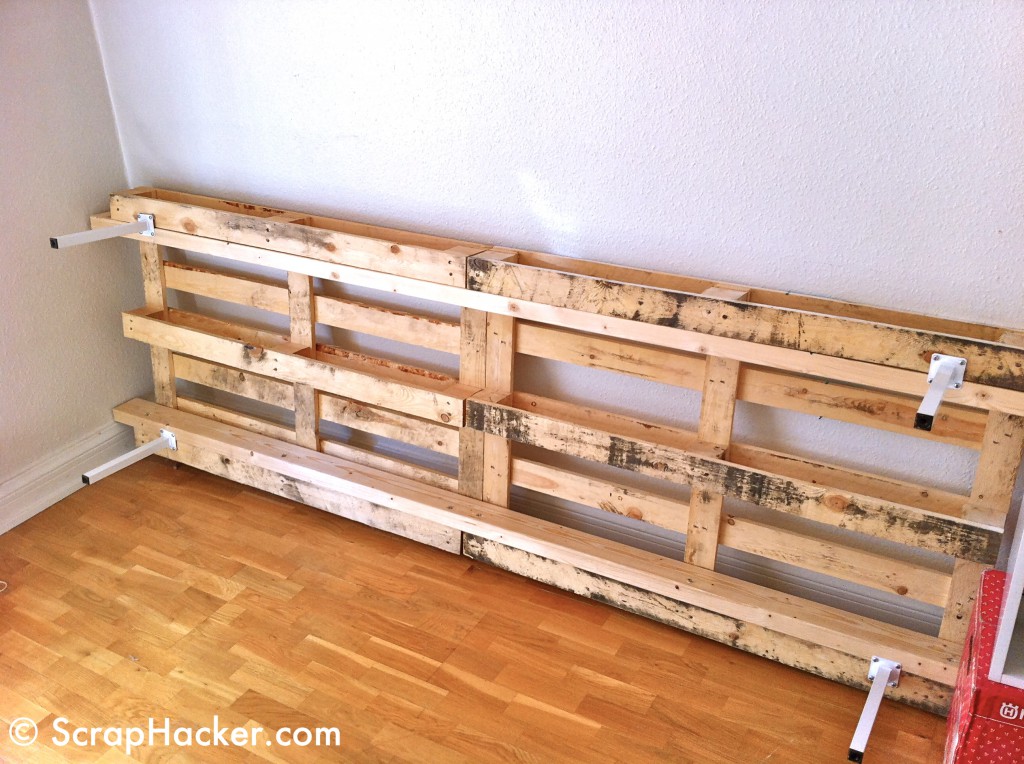
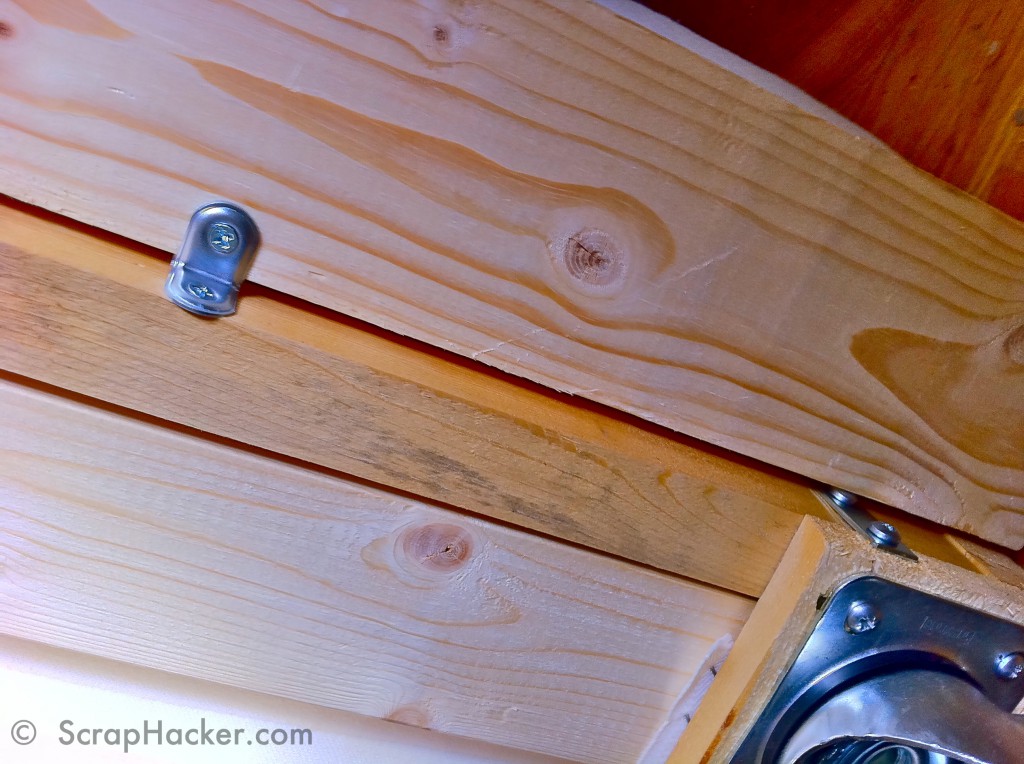
Step 3. Place the beams underneath the top/double pallet component. Fixate the beam with angle irons.
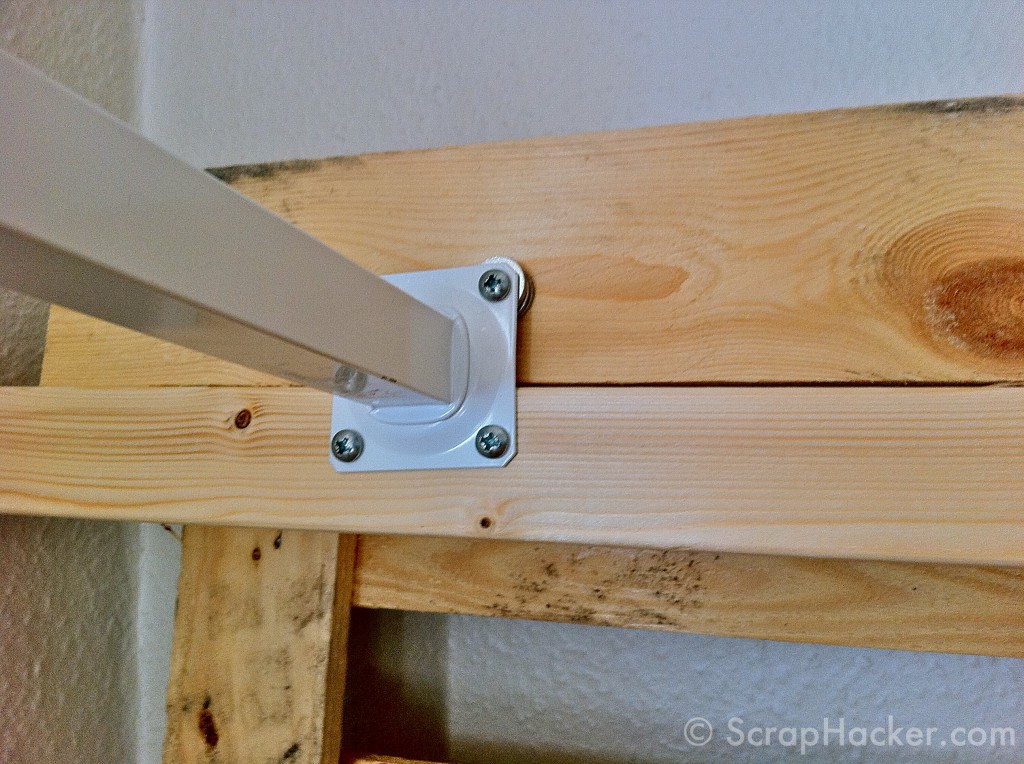
Step 4. Mount the legs. Make sure they are supported by both the beam and the top structure.
This is what it should look like:
Step 6. The clean up/paint job!
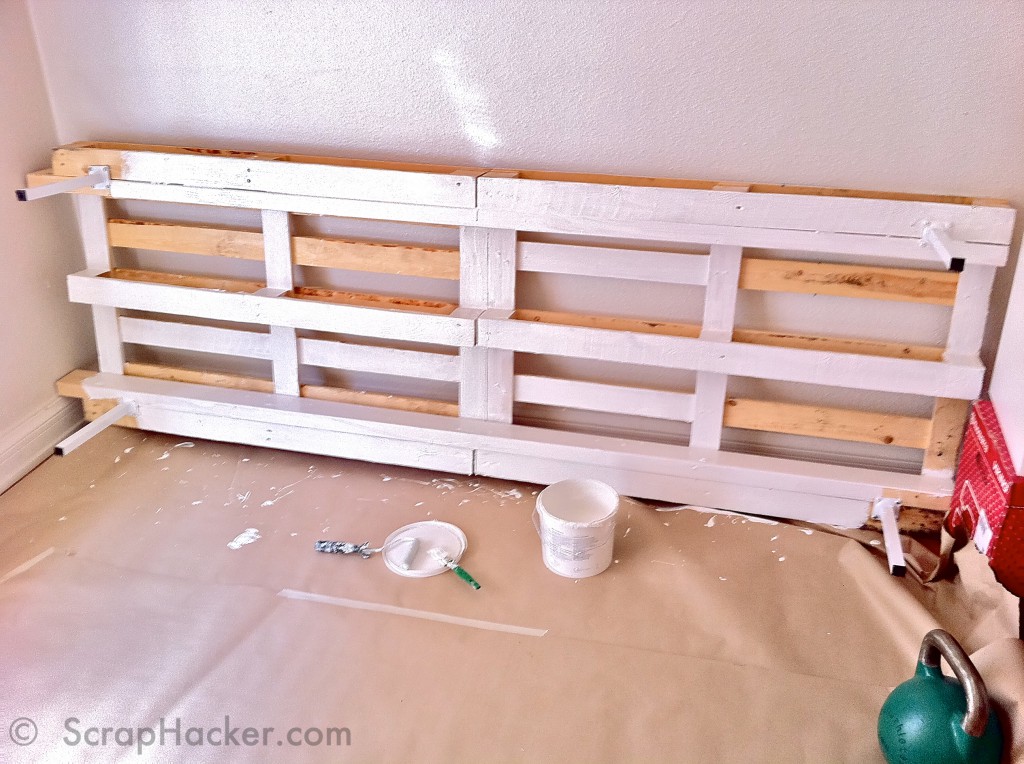
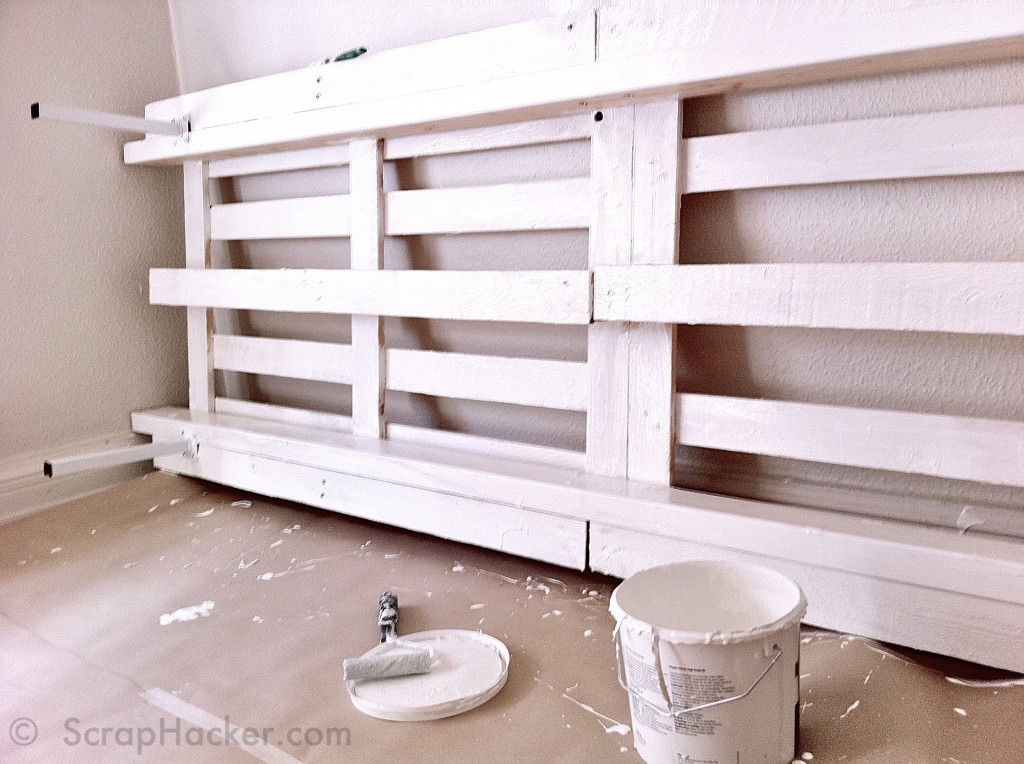
Step 7. Flip it over – continue to work with the clean up/paint job.
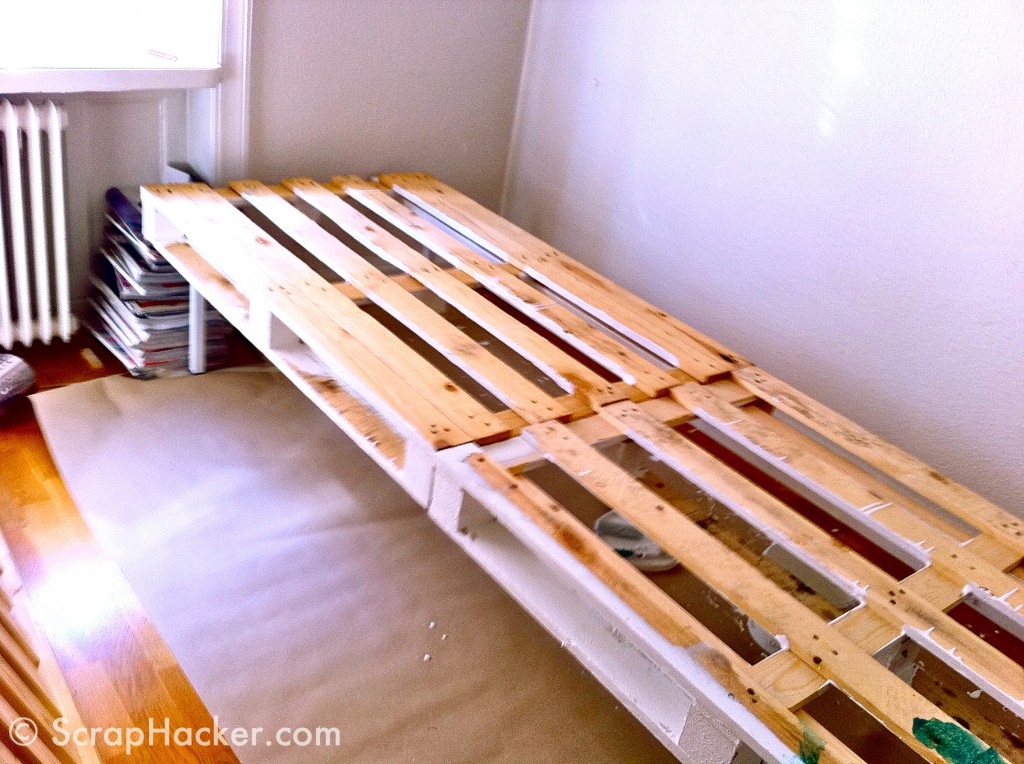
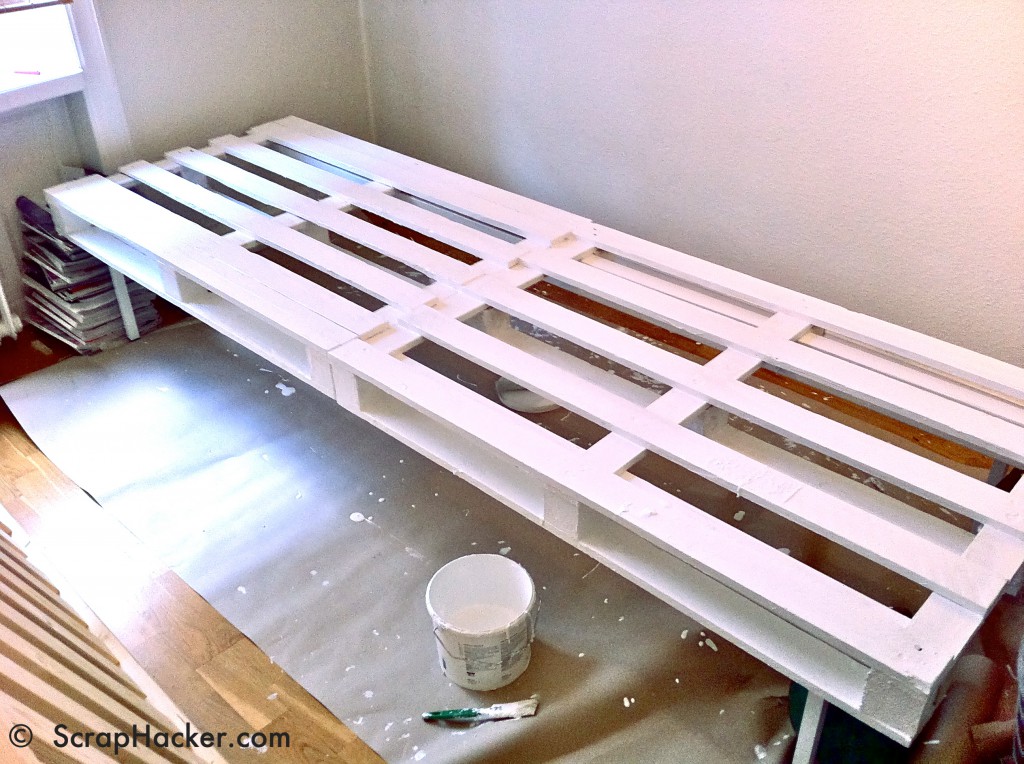
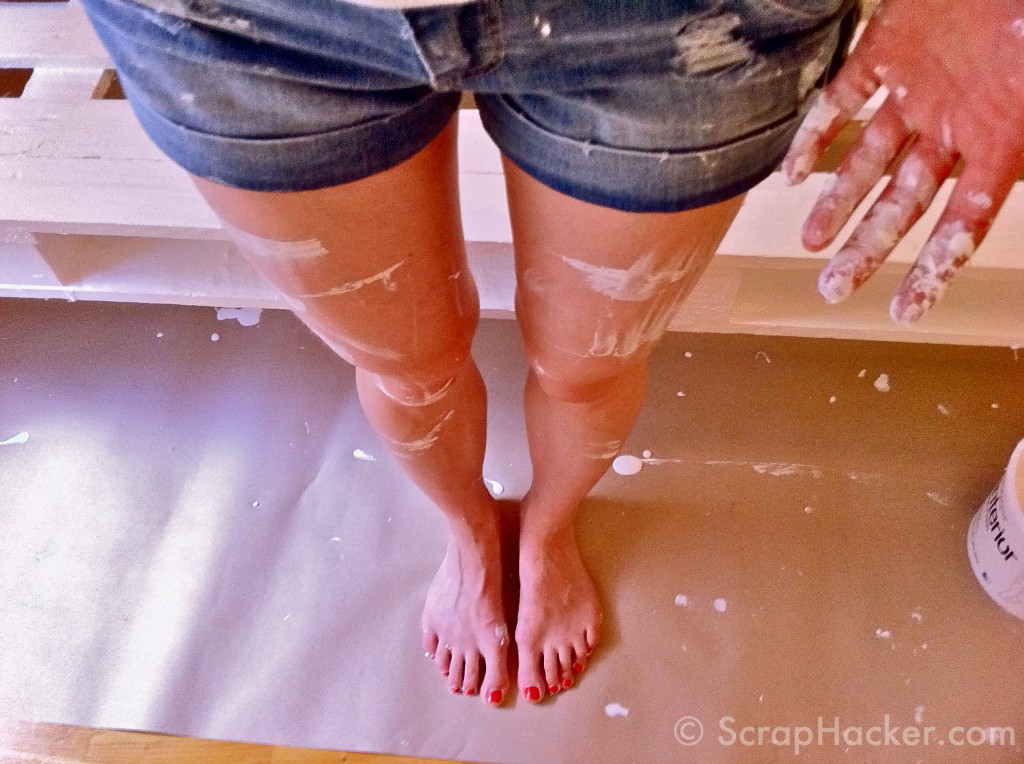 Step 8. The bottom component needs some hacking! I used IKEA´s slatten bed base Sultan Lade (200´70cm) for support – it happened to fit perfectly! As the bottom part was only 180cm – I needed to make it a bit longer to be a good fit with the mattresses (IKEA ) I bought, i simply added some scrap wood on each side of the pallet, adding 10cm on each side – making it total a rough 200cm.
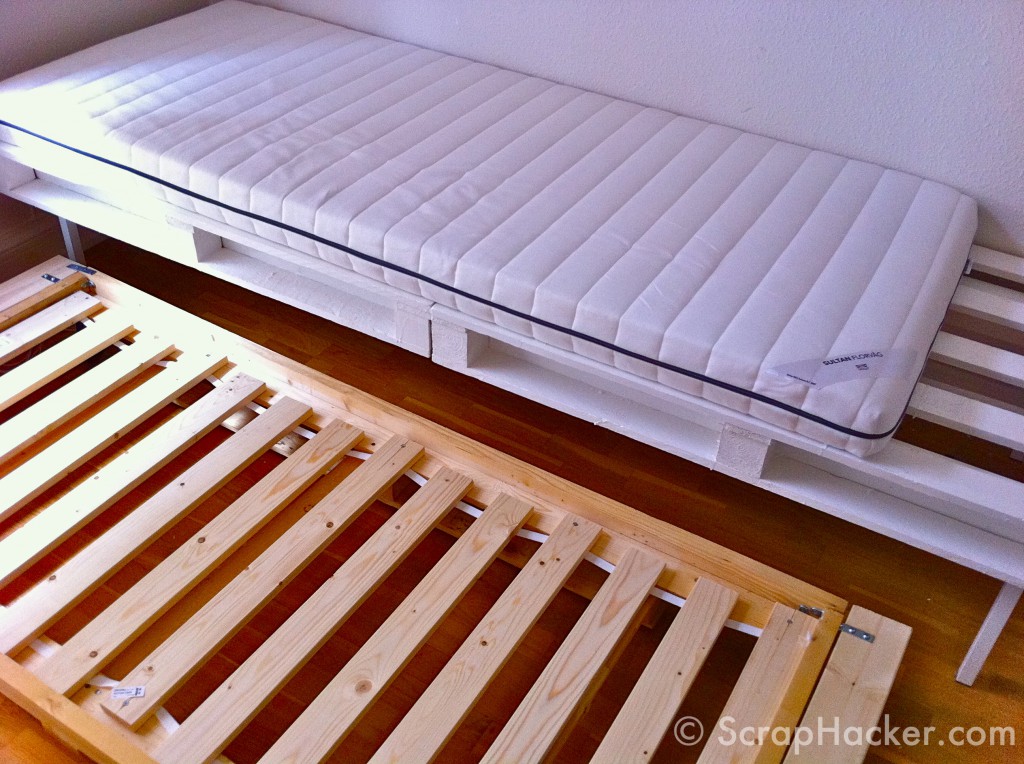
IKEA´s Sultan Lade slatten bed base.
 I added 10cm to each short side of the bottom bunk. I found angle irons to be sufficient for the fastening.
In this step I also added the trolley wheels to the bottom bunk, as I want it to be able to roll in/roll out from under the top bunk.
Step 9. Fitting, I used the
IKEA´s Florvåg Mattresses (for some reason they are almost twice the price in the U.K compared to Sweden (349kr here, 59£ in the UK!)
Step 10. Customize! Make your own finishing touches! I opted for an
IKEA Indira Bedspread and some
IKEA Sanela Cushion covers in welcoming velvet and colors ivory, orange and light brown. The top bunk component measures 240cm, so there is some extra space for magazines and a lamp (as the mattress only measures 200cm). I like my
IKEA Forså black metalliclamp.
The I bought the the stripy hammam towel at a market in Ile de Ré (great island off the French Atlantic coast) this summer.
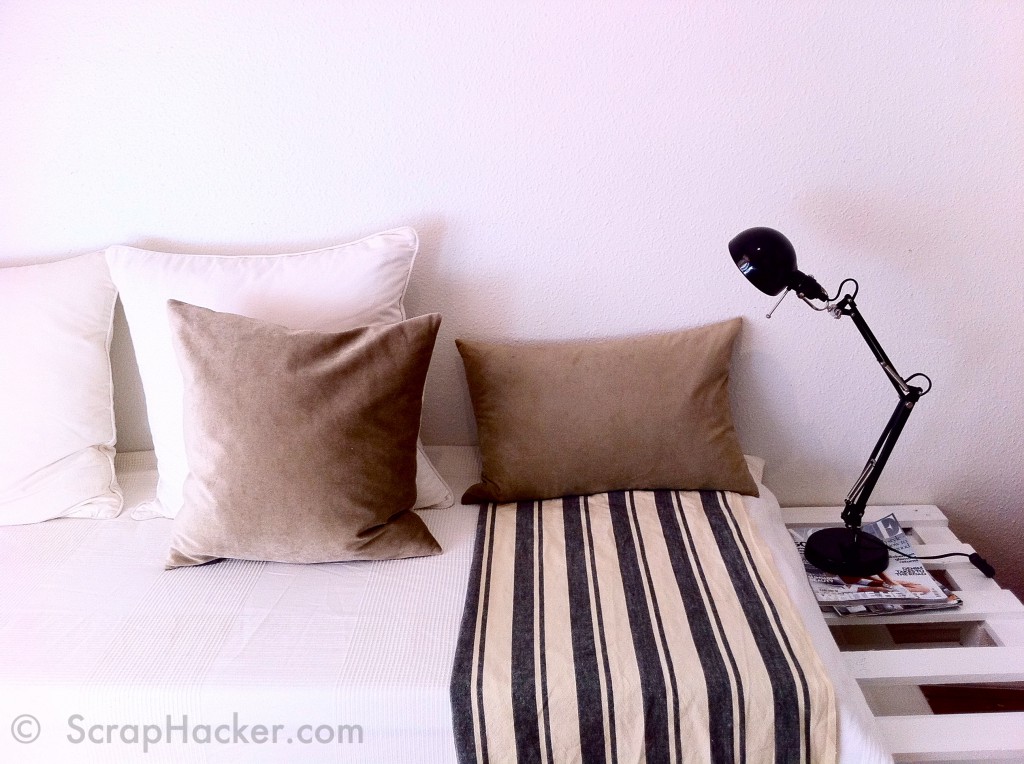
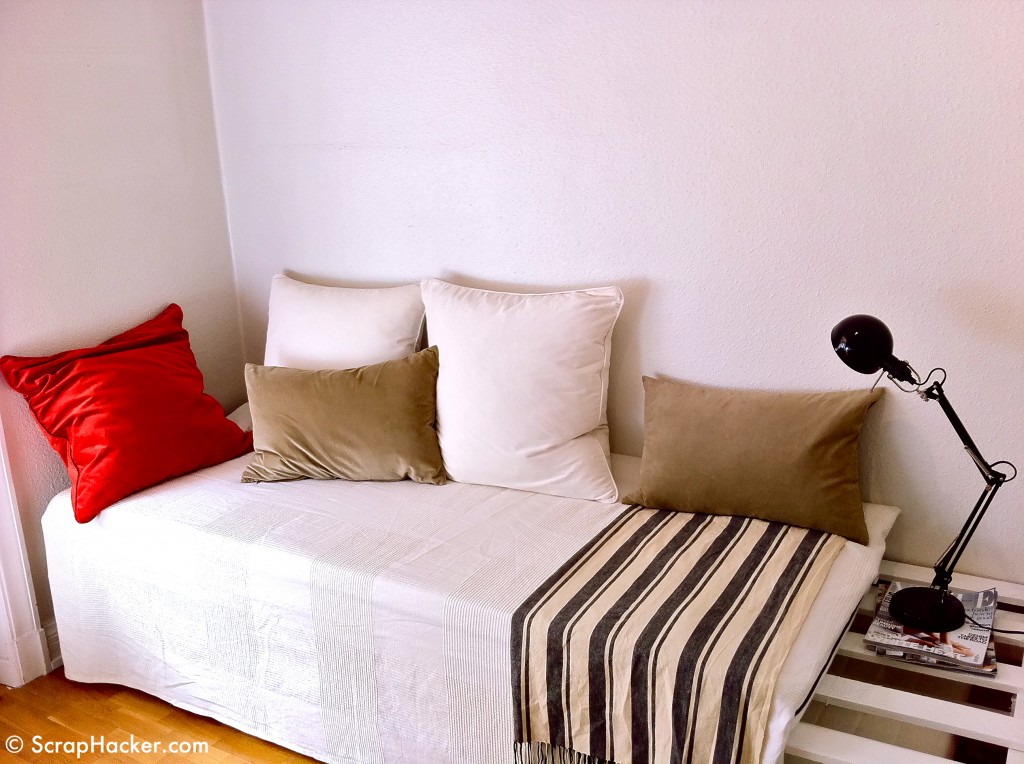 Above: The sofa, in its daytime suit is great for lazy Sundays! The construction is stable.
Below: For the nighttime – the bunks are more than alright with hosting one big guy each!
GOOD LUCK WITH YOUR OWN DIY SOFA BUNK BED HACKS!


